
Setting Up the Multiselect Control in Creatio 8.2.1
At AavishkarIT, we specialize in delivering advanced low-code/no-code solutions using Creatio. With the release of Creatio 8.2.1, a new Multiselect Control has been introduced, enhancing the user experience for selecting multiple values in lookup fields. This feature is particularly useful when a record needs to be associated with multiple values from a related list, such as assigning multiple types to a contact. In this detailed guide, we’ll walk you through setting up the Multiselect Control in Creatio, covering every step from creating the required data storage object to configuring the control on a page. By the end of this tutorial, you’ll be able to effectively use this control to enhance data management in Creatio.
3/20/20253 min read
What is the Multiselect Control?
The Multiselect Control in Creatio allows users to select multiple values from a lookup list while maintaining a 1:many relationship between the main record and the selected values. Unlike traditional dropdowns or lists, this control provides a more interactive and user-friendly experience, making data input more efficient.
Benefits of Using the Multiselect Control
Enhanced Usability – Provides an intuitive way to select multiple values.
Maintains Data Integrity – Ensures selected values are properly linked to the record.
Simplifies Data Entry – Reduces manual effort while selecting multiple values.
Speeds Up Configuration – Quick and easy setup within Creatio's low-code environment.
Step 1: Creating the Data Storage Object
To store the selected values from the Multiselect Control, we need to create a new object in Creatio. This object will hold references to the selected values and the main record (e.g., Contact).
How to Create the Object
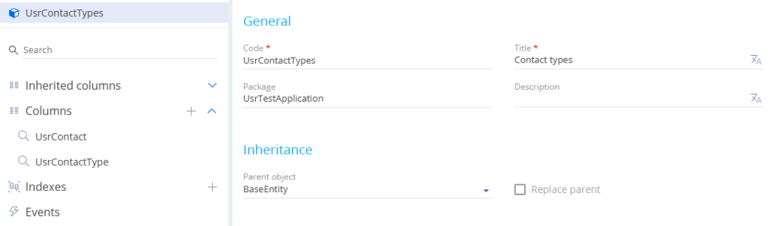
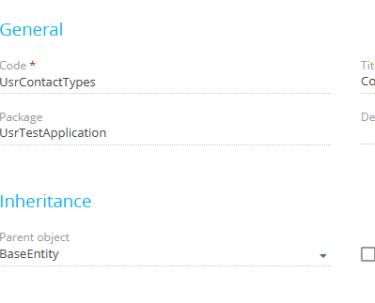
Navigate to the Object Designer: Go to Configuration and create a new Object.
Define Object Attributes: Add two lookup columns:
First Lookup Column (e.g., "Contact Type"): Stores the selectable values.
Second Lookup Column (e.g., "Contact"): Associates the selection with the main record.
Save and Publish the object.
This object will serve as an intermediary between the main record and the selectable values, ensuring proper data linkage.
Step 2: Adding the Multiselect Control to a Page
Once the storage object is ready, the next step is to add and configure the Multiselect Control on a page.
How to Add the Multiselect Control
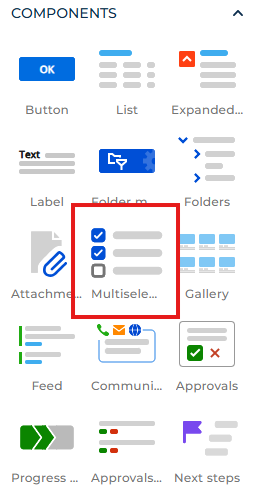
Open the Page Designer: Navigate to the section or detail page where you want to add the Multiselect Control.
Drag the Multiselect Control from the component list to the desired location on the page.
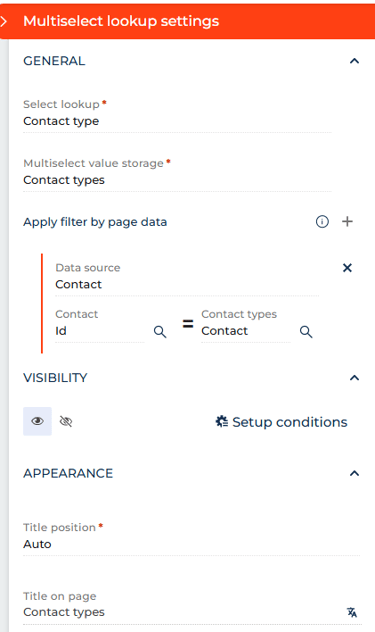
Configure the Control:
Select Lookup: Choose the lookup containing the selectable values (e.g., "Contact Type").
Multiselect Value Storage: Select the object created in Step 1 to store the selected values.
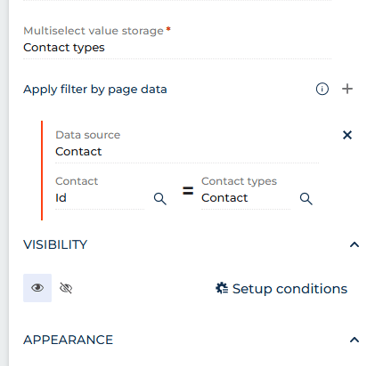
Apply Filter by Page Data: Enable this option to ensure that selected values are correctly linked to the current record.
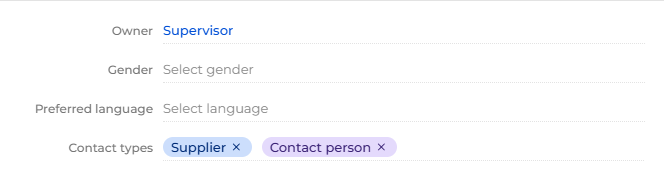
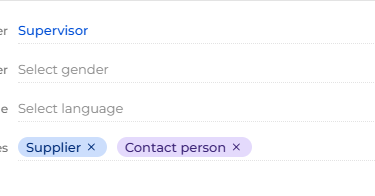
Once these settings are applied, the Multiselect Control is ready to use.

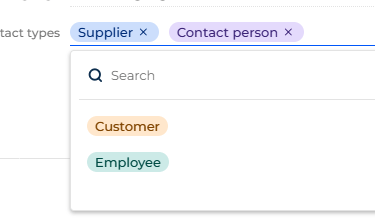
Step 3: Testing the Multiselect Control
After configuring the control, it's important to test it to ensure everything is working as expected.
Testing Checklist
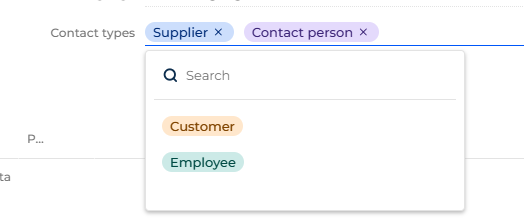
✔ Ensure users can select multiple values from the lookup list.
✔ Verify that each selection creates a new entry in the storage object.
✔ Confirm that values are correctly associated with the main record.
✔ Check for any UI issues or errors in the configuration.
Advanced Customizations for Multiselect Control
For more advanced use cases, you can further enhance the Multiselect Control by implementing:
1. Filtering Lookup Values
To display only relevant values in the lookup, you can apply filters based on specific criteria. For example, if you only want to show active contact types:
2. Adding Validation Rules
To restrict the number of selections, implement a validation rule that limits the maximum number of selected values.
3. Customizing the UI
Modify the control’s appearance and behavior by customizing styles using Creatio’s CSS and JavaScript extensions.
Common Issues & Troubleshooting
The Multiselect Control is not saving: - selected values Ensure the correct storage object is linked in the settings.
Lookup values are not appearing in the dropdown: - Check if the lookup is properly configured and has data.
Data is not filtering correctly: - Apply the "Apply filter by page data" setting and verify lookup relationships
Users cannot select multiple values: - Ensure the Multiselect Control is correctly configured and connected to a 1: many relationships.
Conclusion
The Multiselect Control in Creatio 8.2.1 is a powerful tool that enhances data selection and improves user experience. By following this guide, you can easily configure this control to allow users to select multiple values efficiently while maintaining proper data integrity.
At AavishkarIT, we are dedicated to helping businesses leverage the power of low-code/no-code platforms. If you need expert assistance in configuring Creatio or implementing custom solutions, reach out to us at info@aavishkarit.com.
🚀 Stay ahead with AavishkarIT – Your Partner in Low-Code Innovation!
AavishkarIT Solutions
Innovate Faster, Automate Smarter
Contact
info@aavishkarit.com
+918368785127
© 2025. All rights reserved.
Industries
Cloud and Devops Services
Custome CRM developemnt
By submitting this form, you confirm that you agree to the storing and processing of your personal data by AavishkarIT as described in the Privacy Policy.
Services
Low Code / No Code
Education
HyperAutomation Services
Financial Services
Healthcare
Travel
IT & Software Services
Consulting & others